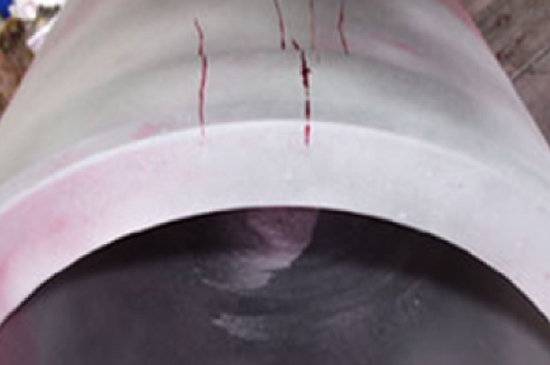
Conventional NDT validation
NDT level 3 consultancy offered in the following Conventional NDT methods
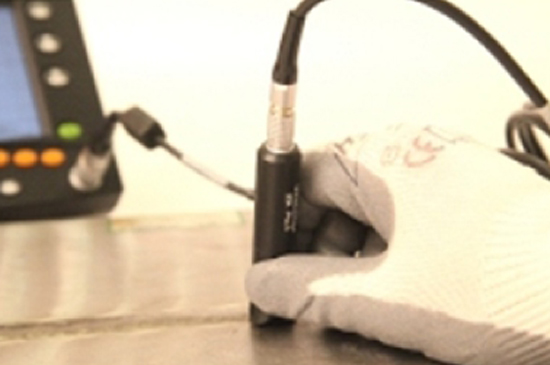
Ultrasonic Inspection (UT)
Ultrasonic methods of NDT use beams of mechanical waves (vibrations) of short wavelength and high frequency, transmitted from a small probe in contact with the specimen surface and detected by the same or other probes. Such mechanical vibrations have different forms depending on the direction of particle movement in the wave motion, so there are several forms of ultrasonic waves.
The most common and widely used in NDT are compressional and transverse (shear) waves. They can travel large distances in fine-grain metal and an oscilloscope display (A-scan) shows the time that it takes for an ultrasonic pulse to travel to a reflector (flaw or back-surface). Applications include location of manufacturing defects in welds and castings through to Corrosion / Erosion monitoring and large scale corrosion mapping.
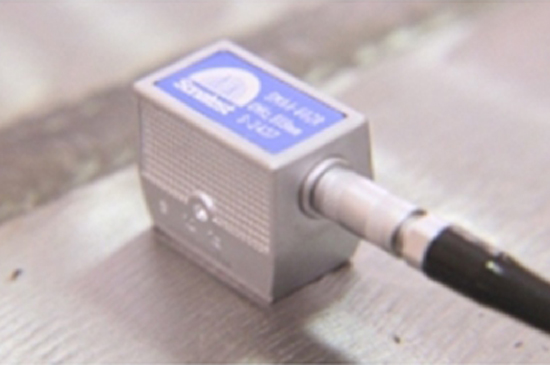
Eddy Current Testing (ET)
An electrical technique detecting surface breaking defects in all electrically conducting materials through paint and surface coatings. All electrical methods are indirect; a material property is measured as an electrical property variation. A coil carrying an AC current is placed on the specimen surface. This generates circulating eddy currents in the specimen close to the surface and these in turn affect the current in the coil by mutual induction.
Flaws are material variations affect the strength of the eddy currents. The presence of flaws is therefore measured by electrical changes in the excitation coil. Applications range from crack detection to metal sorting and from tube, bar and weld inspection.
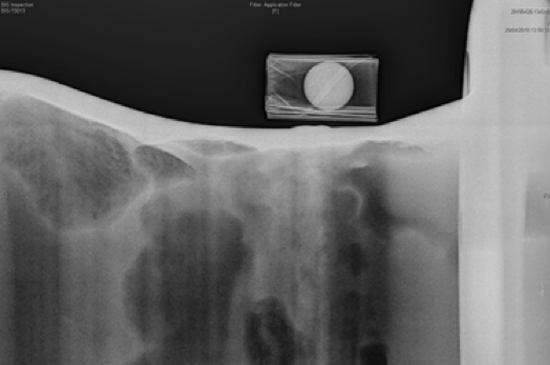
Radiographic Inspection (RT)
A well established NDT technique which uses gamma-rays or X-rays to produce the image of an object onto film. The source of radiation is either an X-ray tube, which is normally described by the electrical voltage across the X-ray tube with the higher the voltage the higher the penetrating power of the radiation or a pellet of radioactive material emitting gamma-rays: Iridium 192, Cobalt 60, Selenium 75, Ytterbium 169.
Applications include wall loss detection and sizing in pipes and plate through to manufacturing defects in welds, forgings castings etc.
Magnetic Particle Inspection (MT)
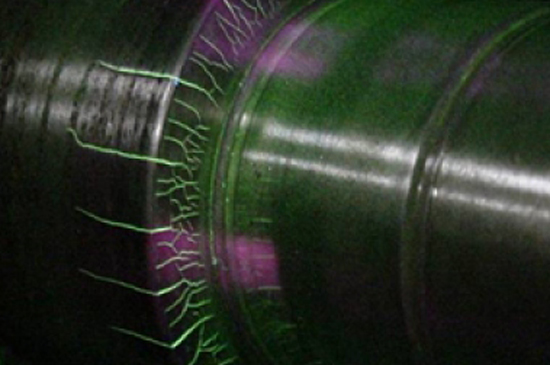
An extremely cost effective method for the detection of surface and near surface flaws in ferromagnetic materials is primarily used for crack detection. Following magnetisation the specimen is covered with very fine iron particles either dry or suspended in a liquid.
Surface breaking flaws distort the magnetic field causing local magnetic flux leakage that attract the iron particles producing a build-up that can be seen visually.
Dye Penetrant Inspection (PT)
A low cost method of detecting surface breaking flaws, such as cracks, cold laps, porosity etc. The dye penetrant is drawn into the surface breaking flaw by capillary action and excess surface penetrant is then removed; a developer is then applied to the surface, to draw out the penetrant in the crack and produce a surface indication. The technique can be applied to any non-porous clean material, metallic or non-metallic, but is unsuitable for dirty or very rough surfaces.
